Halloween 2019, I decided to go all out and DIY some huge angel wings without breaking the bank. I had never done this before so figuring it out was a fun, semi-stressful project. Now I get to share what worked for me and what didn’t. Here’s how I made angel wings for about $50:
What You’ll Need:
Small, cheap angel wings as a base-Check Walmart, they’re usually about $10 and any should do.
Fluffy feather boas-I found them at Hobby Lobby for about $4 each and used about 9 boas total. I recommend buying extra as back up. Boa example here.
Rebar Tie Wire-Home Depot has this thick wire for about $6, I used this. You’ll use this as the wing border. Wire cutter is also needed for this.
Hot Glue-for the boas.
Staple Gun-to secure the wing border to base.
Twist Ties-to connect the boas to the wire border.
Cardboard, plywood, or foam & wood-your choice, it’ll be used to stabilize the inner wing.
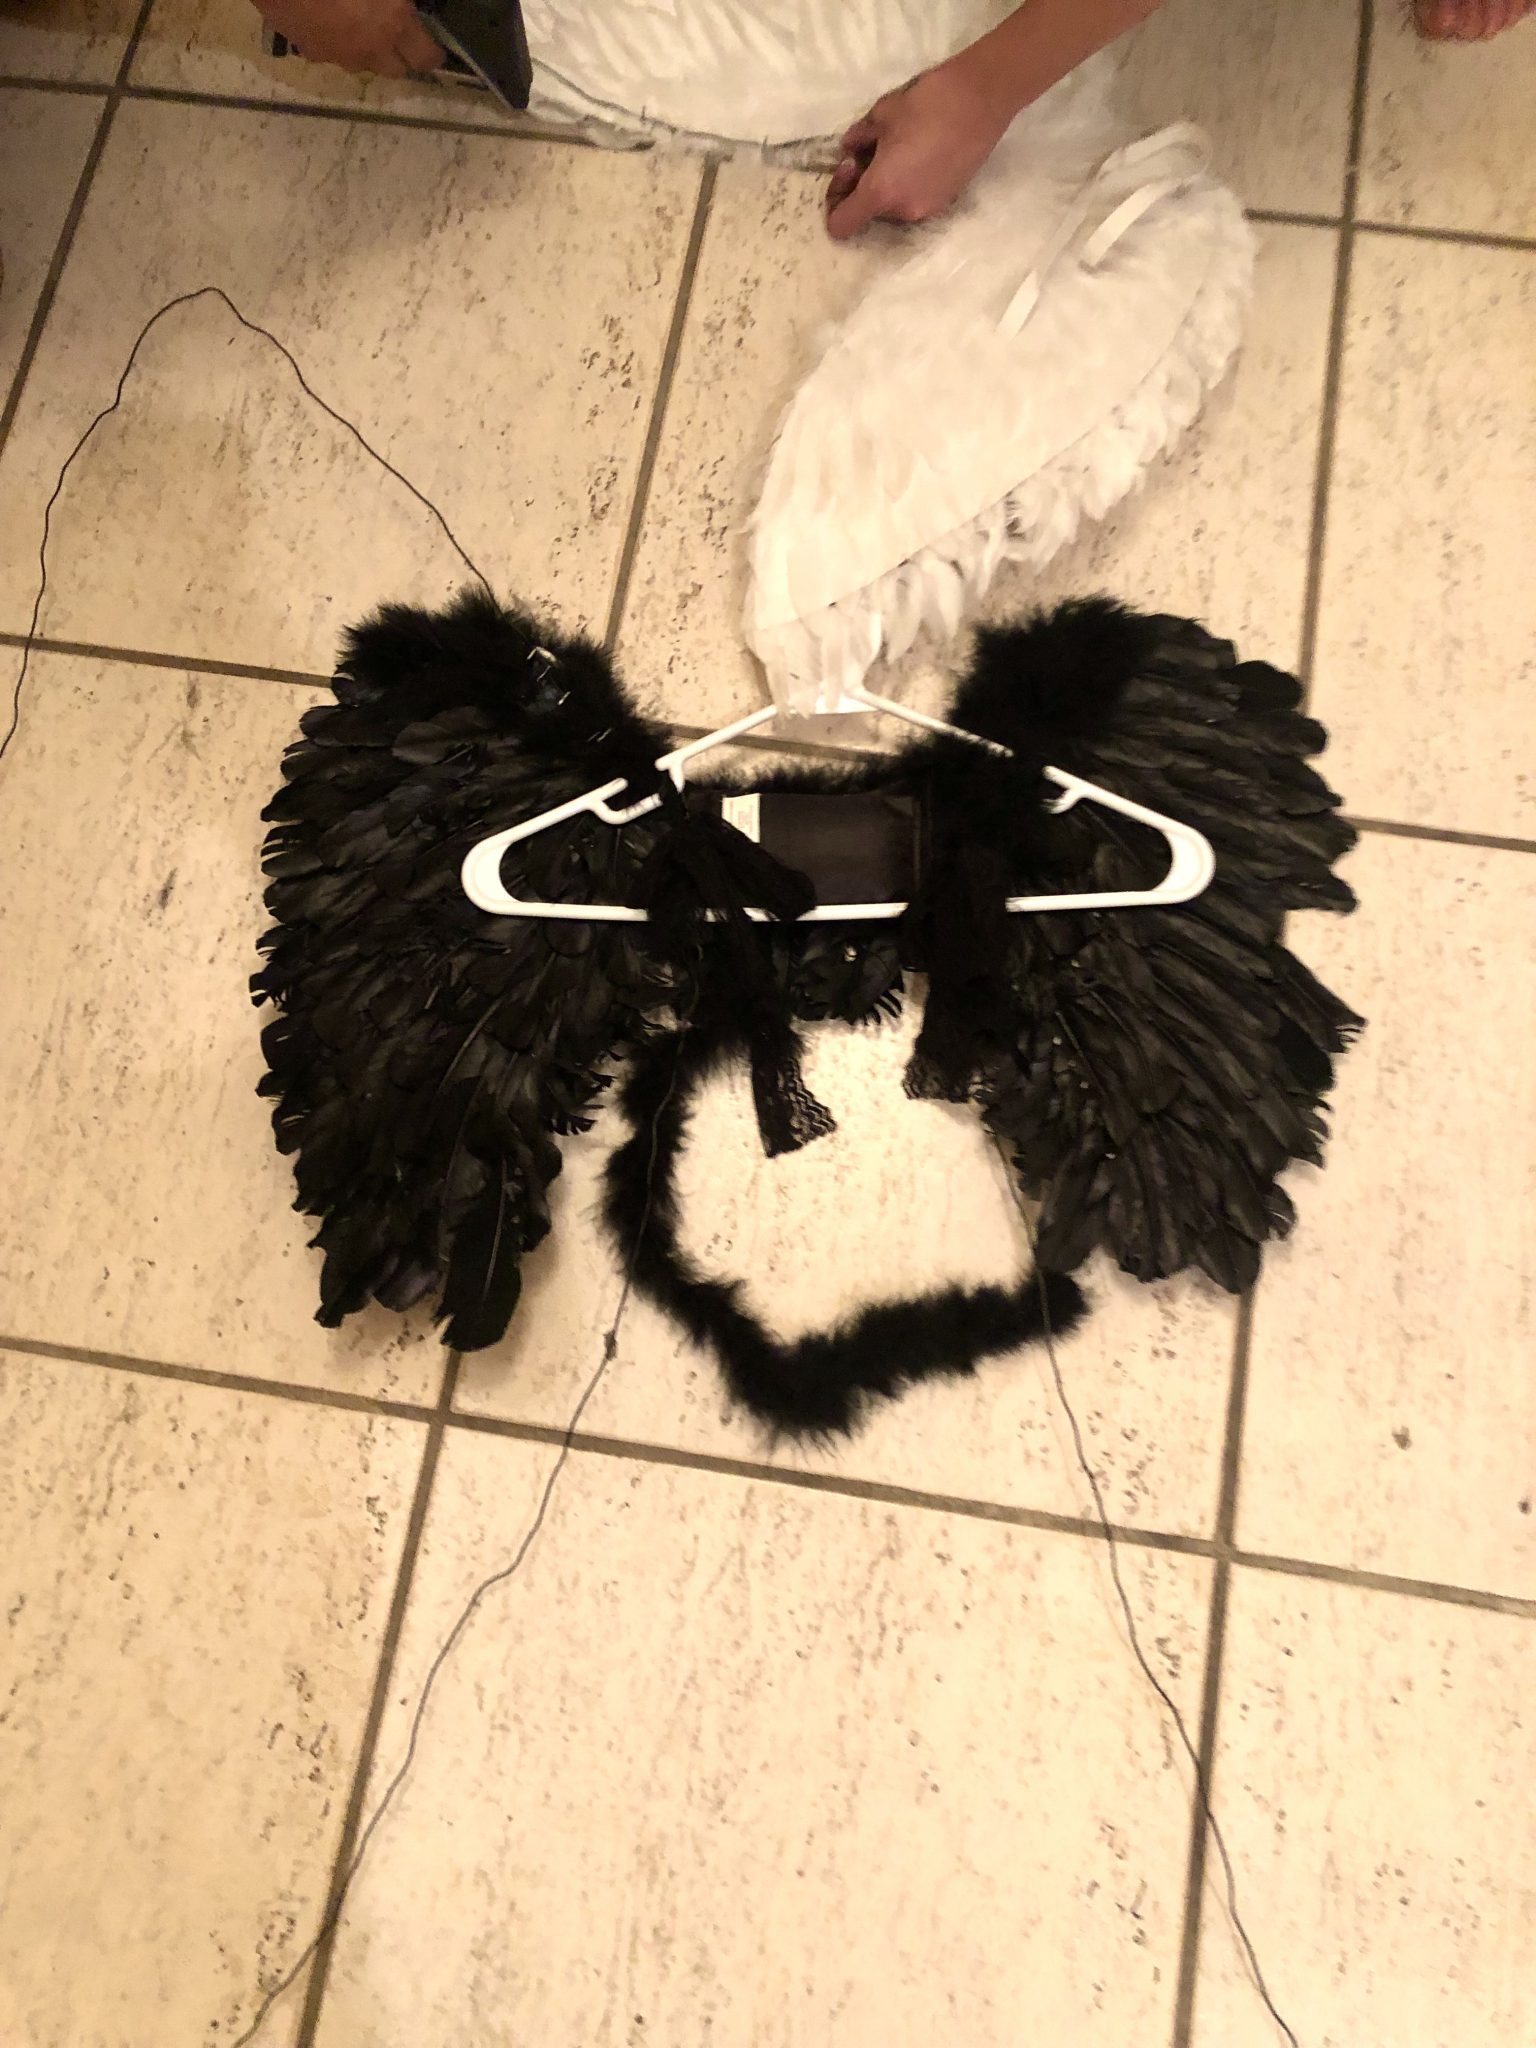
When you begin, you’ll use the rebar wire to start creating the wing shape you want. Because I chose to be a fallen angel, I made mine huge and angled downward. Also, the small wings I had as the base already had straps to put the wings on (the lace strings attached to the hanger in the pic below) so I didn’t have to add anything extra.
*Note: this wire leaves a black residue on your hands so I recommend using gloves and washing off the wire with dish soap and water.
Use the staple gun to start fastening the wire to the base of the small wings. You’ll be able to adjust the wire if needed, just make sure the wire is very secure.
Next, you’ll create some type of support in the center. Here’s where I could’ve improved, I used wood bars going from the base to the wire hiding between my feather boas because it was such a last minute project. I also tried to add cardboard for extra support and it wasn’t holding that well. It will need more support than that, trust me.
So I recommend trying a few things-thick cardboard wrapped in duct tape, plywood, or even some type of foam and wood combo. This was the toughest part and I didn’t figure out this problem until right before I left the house.
Last step after securing the wings is to add on your feather boas! This is the easiest part, you’ll need your twist ties to secure the boas from the string to the wire. I started by putting one boa around the wire border then filled the inside by connecting the boa from top to bottom.
I recommend buying a few extra boas if you do them as big as mine. Since you’ll be smart than me and have a better support system in the center, you’ll also be able to hot glue the boas together and onto that back support.
Do yourself a favor and give yourself time to perfect your wings! Try them on and walk around to make sure the support is there. Also, make sure the boas are in place and fill the wings well.
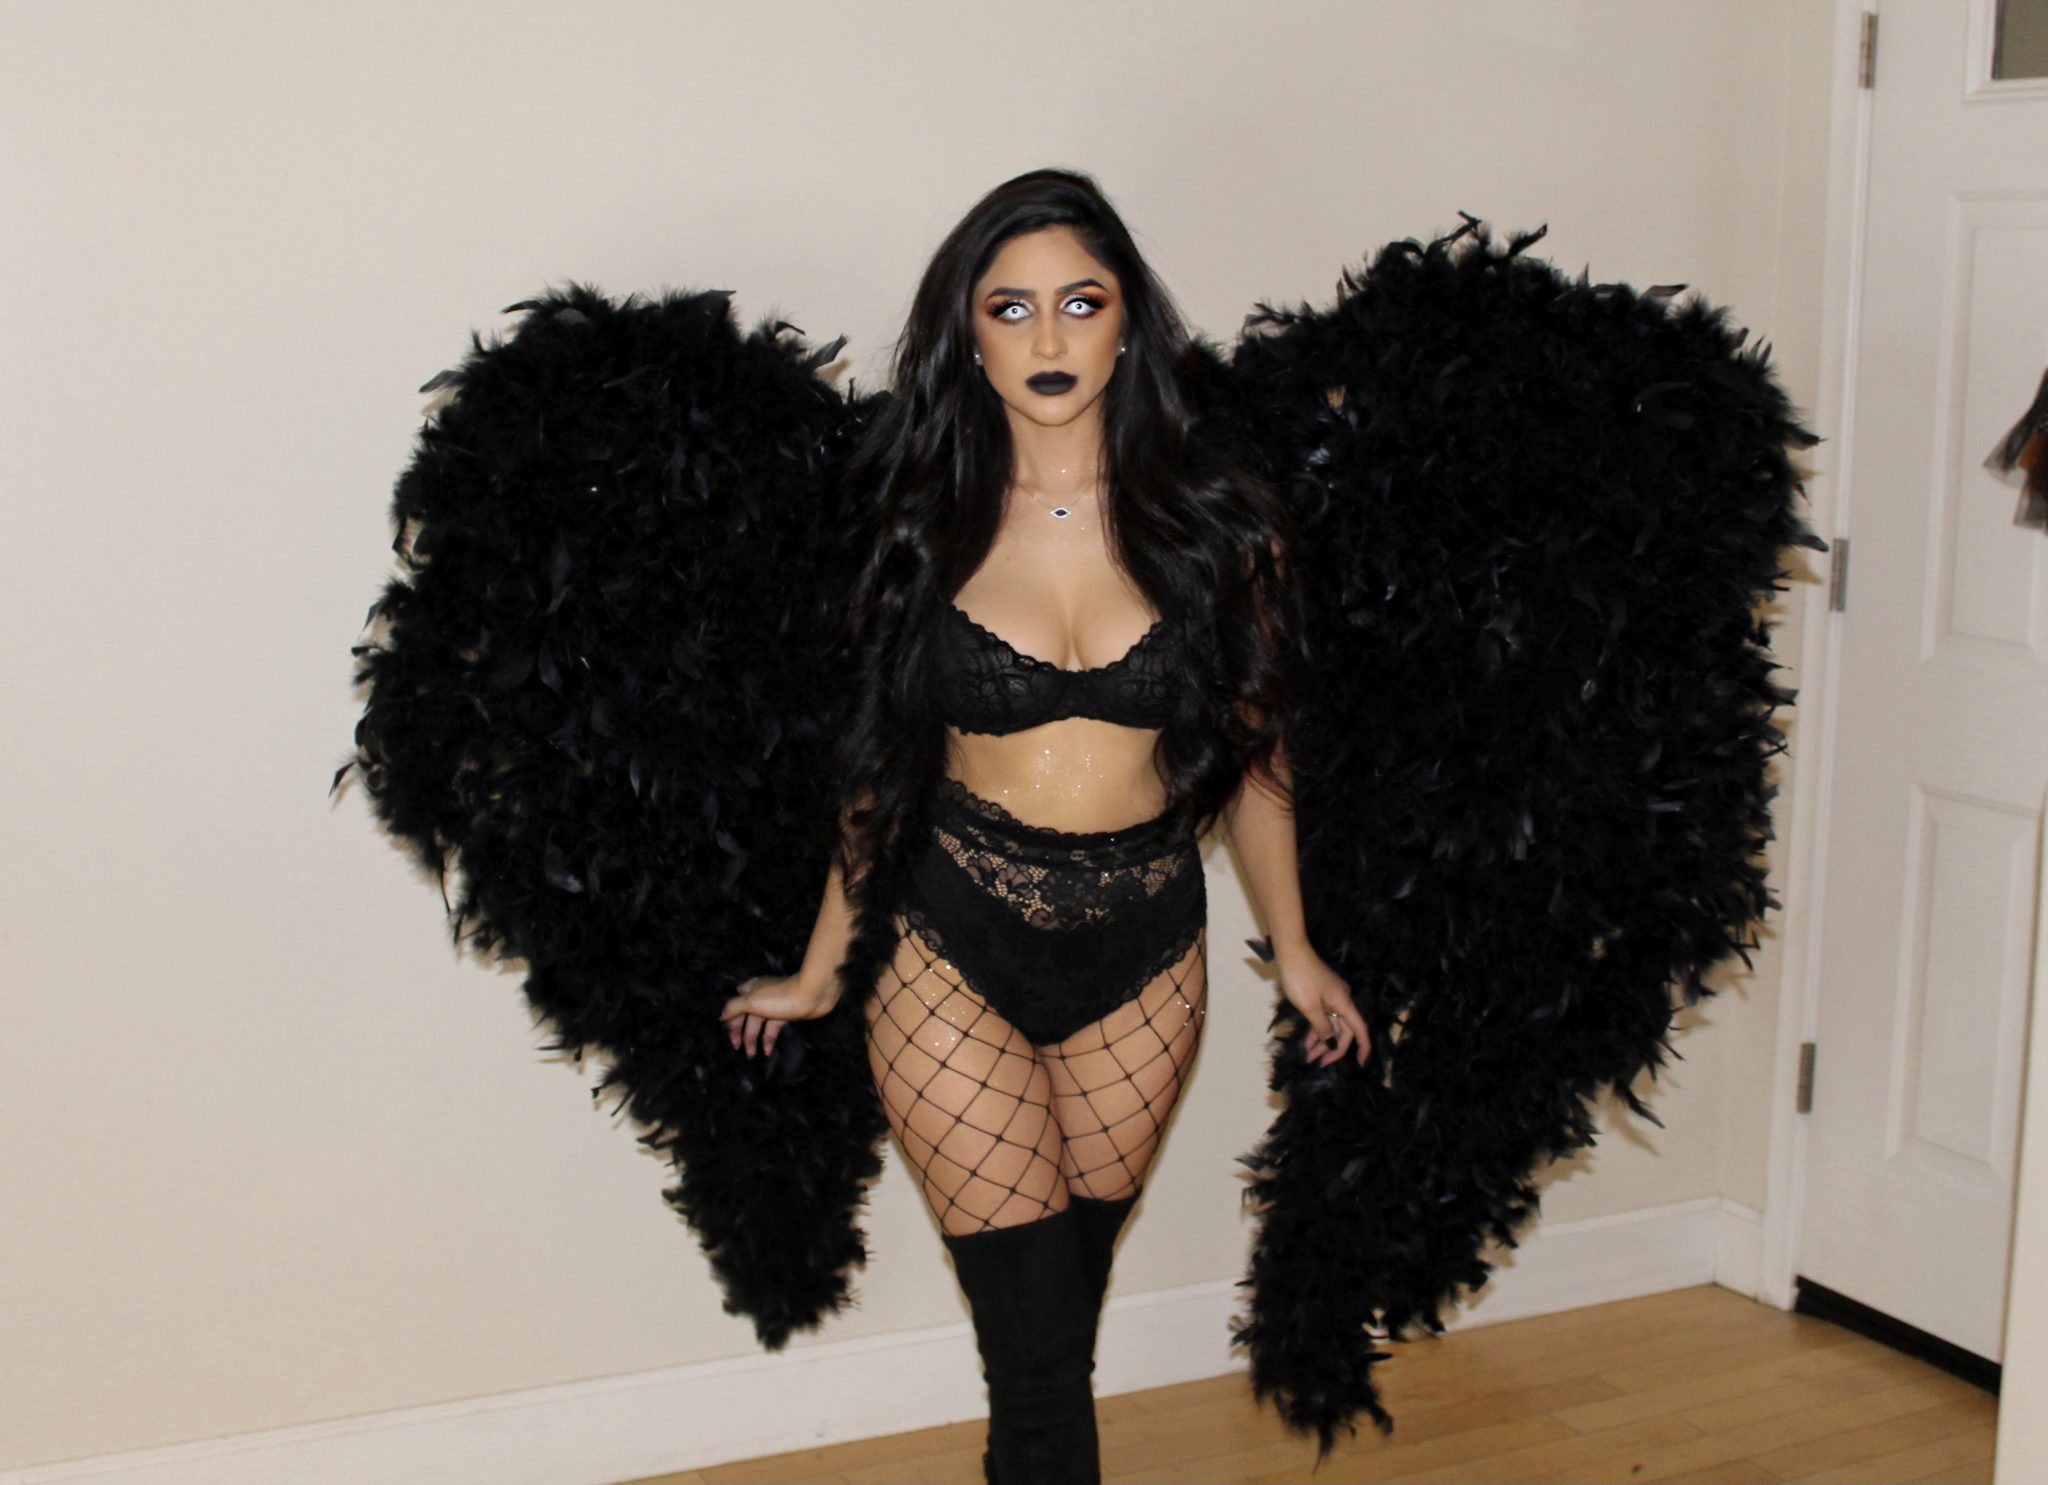
The Final Look:
Overall, it’s a fairly simple project and with time and patience, you’ll have the sexiest, baddest wings for only about $50!
I hope this blog helps! If you try this DIY, send me your pics and tag me, I’d love to see you slay!


You did such a great job!!!